
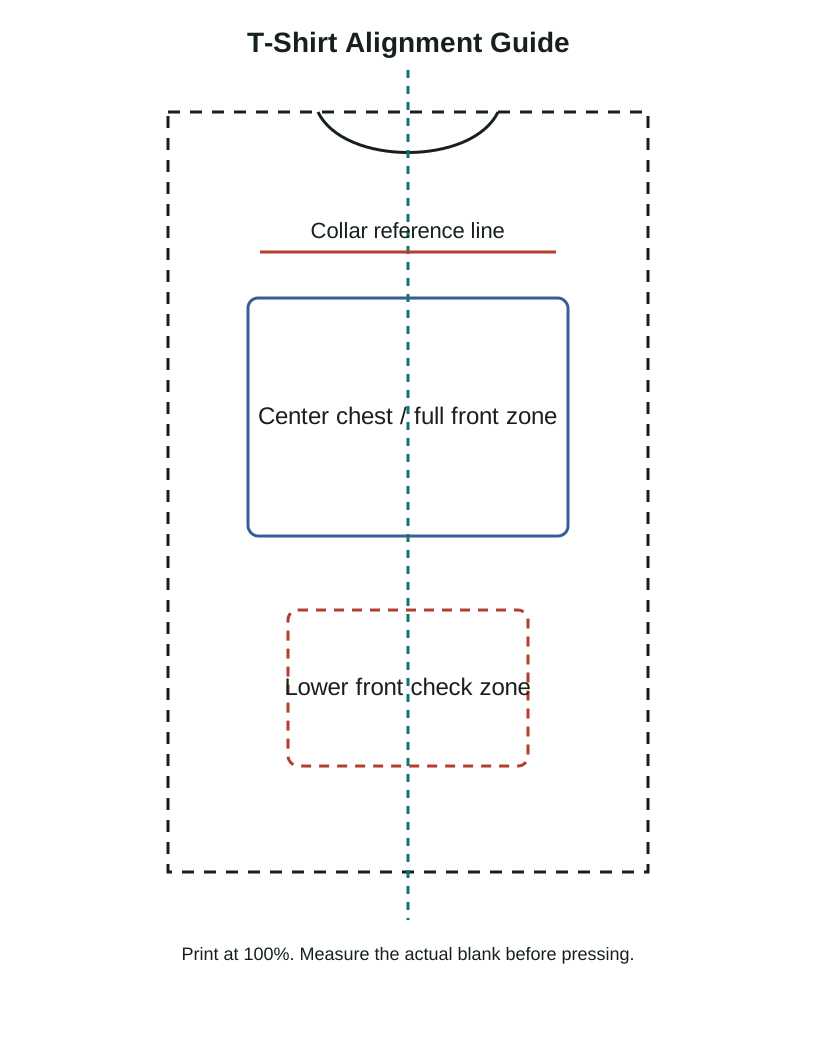
Use this chart for
- Adult center chest, full front, left chest, and back print setup
- Cricut and Silhouette shirt layout checks before cutting or pressing
- Reusable worksheet notes for beginner classes, maker stations, and small-batch apparel projects
Quick placement table
| Area | Starting size | Starting placement | Check before pressing |
|---|---|---|---|
| Center chest | 8.5-10.5 in wide | About 3 in below the collar line | Center between side seams, not just the folded shirt edge |
| Full front | 10-12 in wide | About 3-3.5 in below collar, adjust for design height | Keep the bottom clear of the waist fold and curved hem |
| Left chest | 3-4 in wide | About 3-3.5 in below collar and visually left of center | Test while the shirt is flat and compare to pocket placement if present |
| Back print | 10-12 in wide | About 4-5 in below collar or below neck seam | Account for long hair, hoodies layered over the shirt, and design height |
Assumptions and notes
- Measure the actual blank because adult sizes and brand cuts vary.
- Set browser print scale to 100% when using this as a worksheet.
- For oversized or streetwear blanks, use the chart as a starting point and increase spacing only after a flat measurement.
Common mistakes
- Placing the design too close to the collar because the shirt is folded unevenly.
- Using full-front width on slim-fit blanks without checking side seam clearance.
- Centering from a hanger crease instead of measuring the real garment center.
Download / print actions
FAQ
Is this chart exact for every adult t-shirt?
No. Treat it as a starting point, then adjust for garment size, neckline, fabric stretch, and customer preference.
Can I use this for DTF and sublimation?
Yes, the placement references work for DTF, sublimation, HTV, and vinyl, but press settings and transfer behavior still depend on your blank and material.